前言
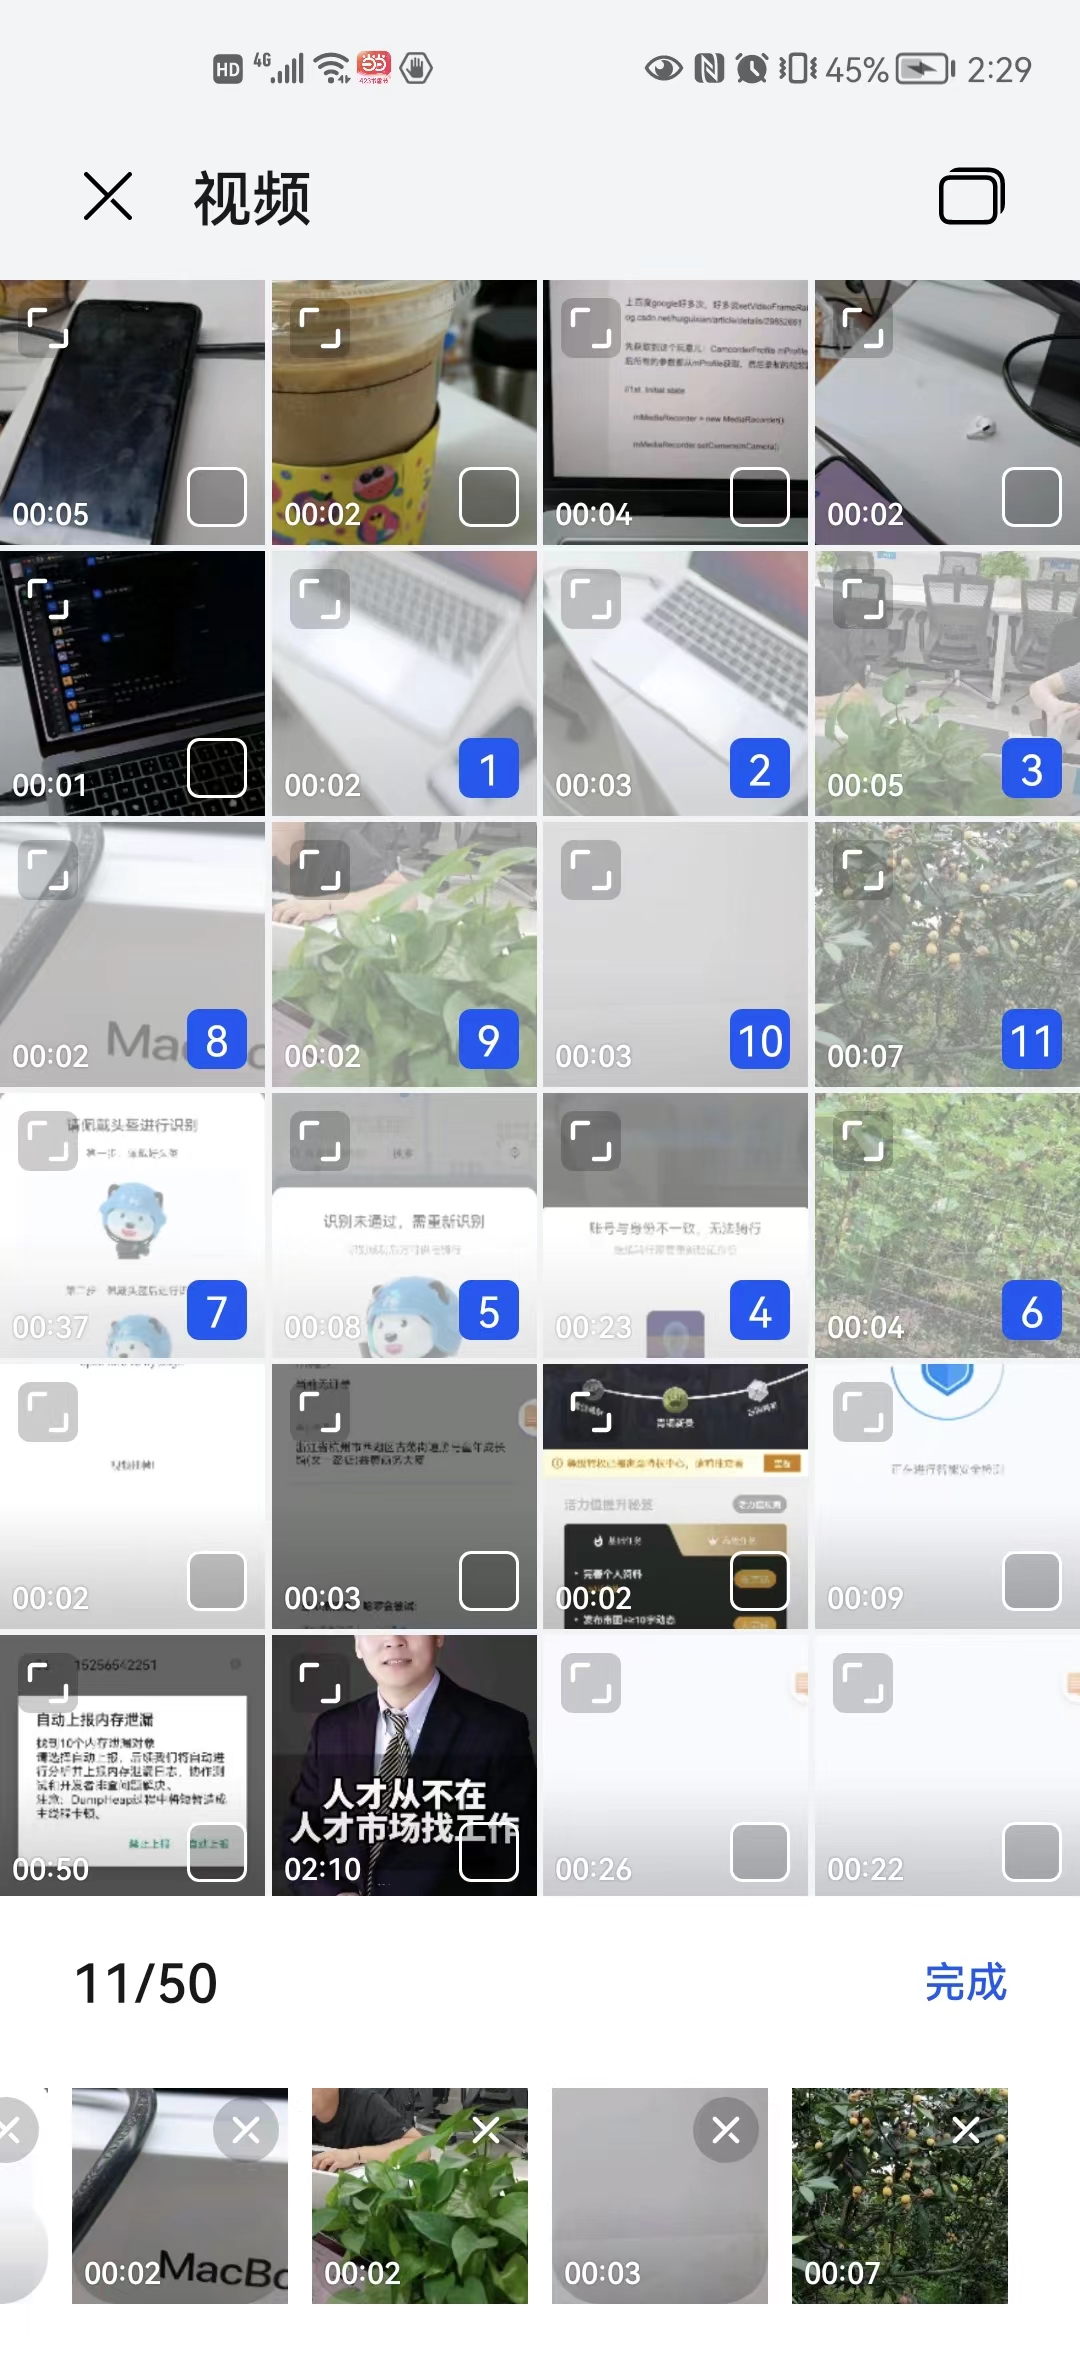
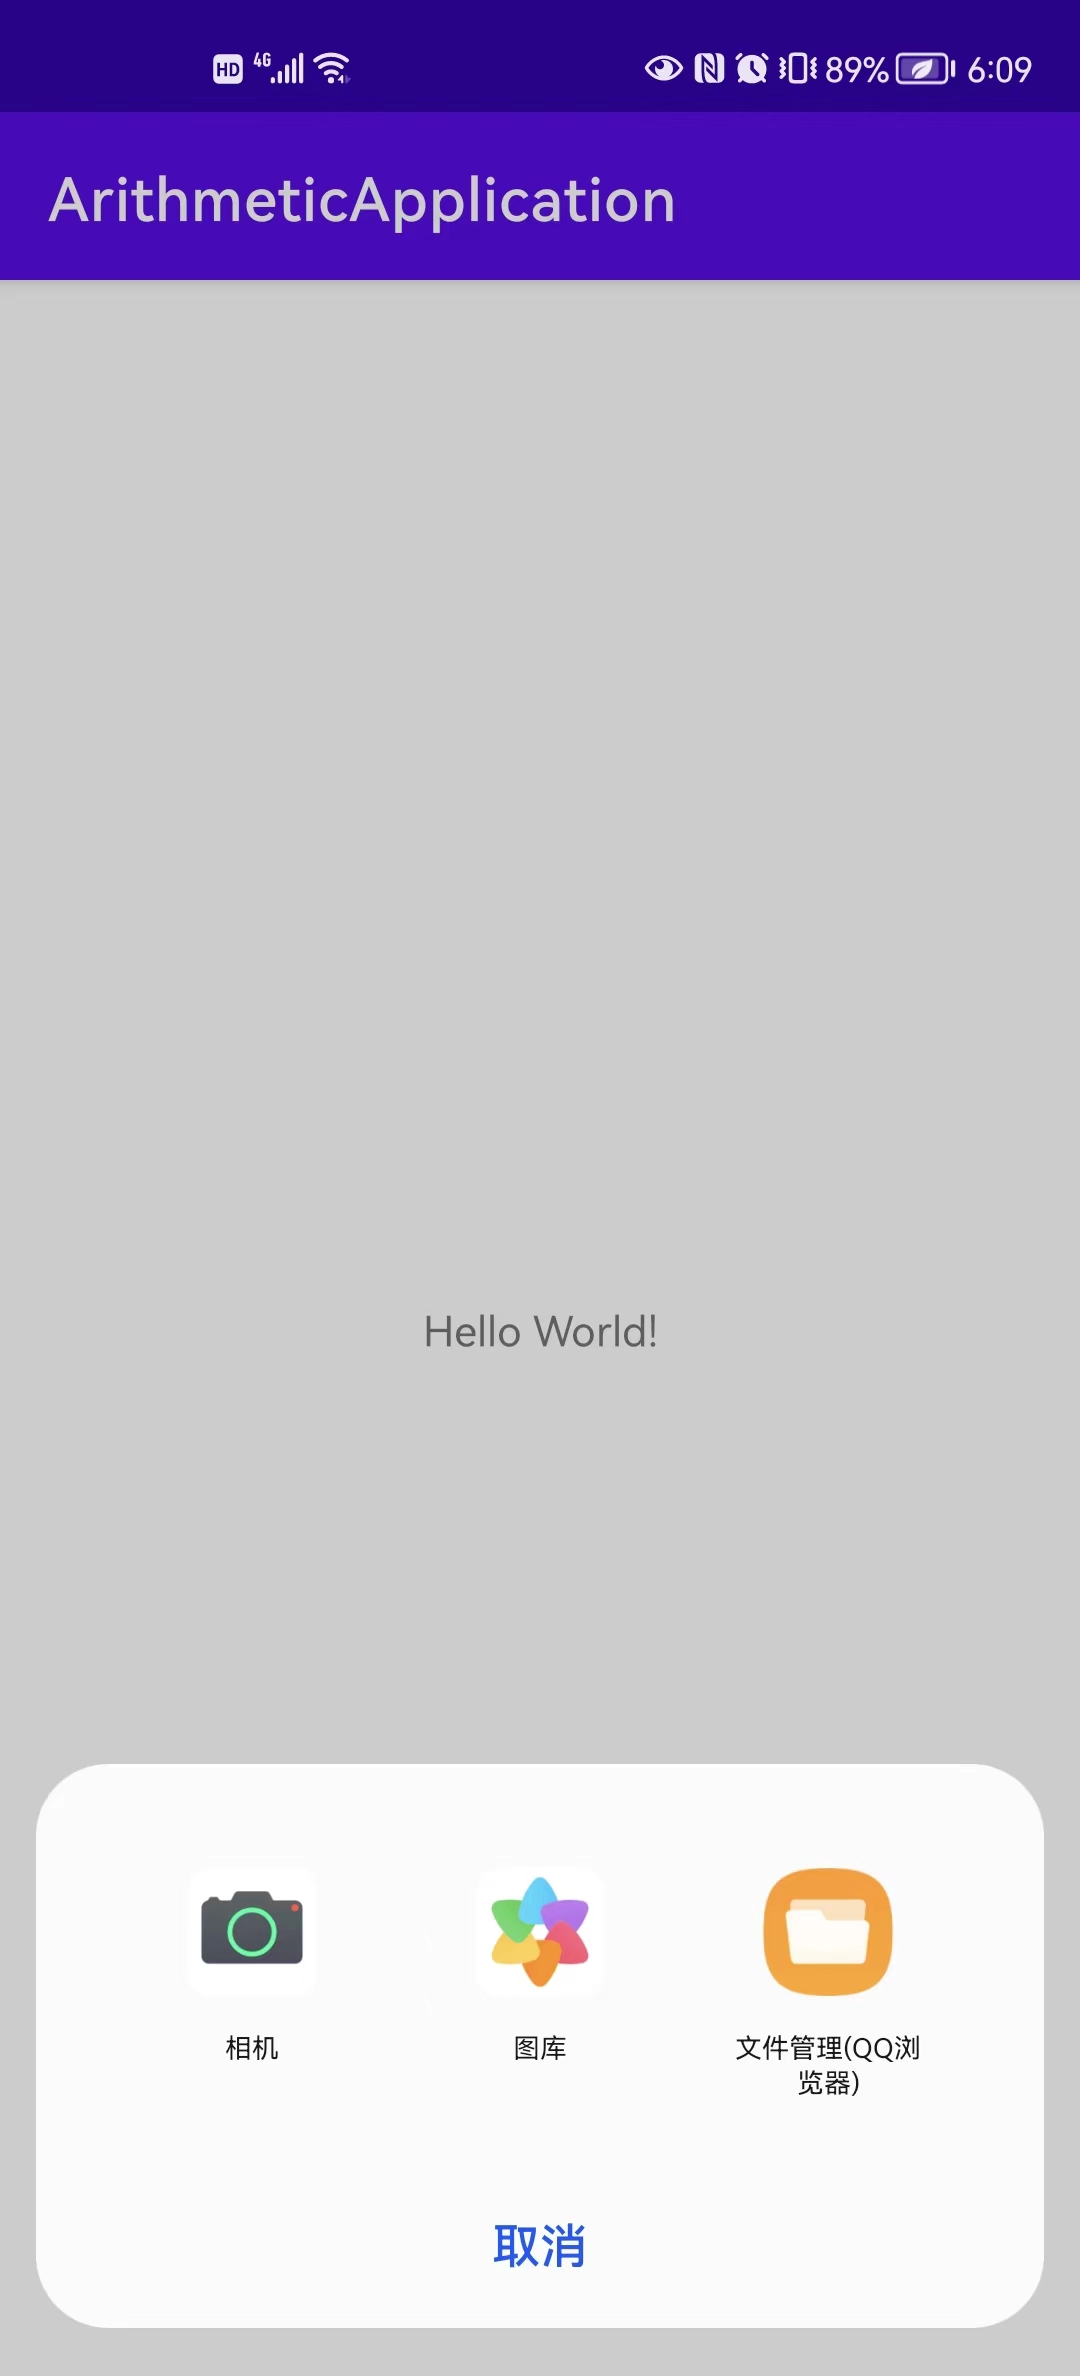
本周支持兄弟租车部门,实现一个H5唤起native获取视频资源的需求;要同时支持拍摄视频和选择视频文件; 唤起后效果如下。
本文讨论的实现针对选择单一多媒体资源的需求,多选可以通过innerIntent.putExtra(Intent.EXTRA_ALLOW_MULTIPLE, true)实现。 对于多选文件的数量限制的参数设置,有知道的朋友可以email我。
我的email: 755087768river@gmail.com Google官方文档参考: https://developer.android.com/training/camera/photobasics?hl=zh-cn

1、H5唤起原生视频选择实现分析
Android的WebView有个WebChromeClient,前端选择媒体资源的时候会调用 WebChromeClient的onShowFileChooser;kotlin的简略实现如下
class MyWebChromeClient(
    var progressView: View?,
    var screenWidth: Int,
    var showProgressView: Boolean,
    var activity: Activity?
) : WebChromeClient() {

    // 一些属性定义,这里acceptTypes只有video/* audio/* image/* 三种,部分手机(一加6可以传video/capture之类的参数,但不通用)
    override fun onShowFileChooser(
        webView: WebView?,
        filePathCallback: ValueCallback<Array<Uri>>?,
        fileChooserParams: FileChooserParams?
    ): Boolean{
        this.umUploadMessages = filePathCallback
        this.fileChooserParams = fileChooserParams
        val acceptTypes = fileChooserParams?.acceptTypes
        if (acceptTypes != null && acceptTypes.isNotEmpty()) {
            val acceptType = acceptTypes[0]
            when {
                acceptType.contains(”image“) -> {
                    onImageChooseListener?.invoke(null, filePathCallback, fileChooserParams.mode)
                }
                acceptType.contains(“video”) -> {
                    onCameraChooseListener?.invoke(null, filePathCallback)
                }
                else -> {
                    onFileChooseListener?.invoke(null, filePathCallback)
                }
            }
        }
        return true
  }

}

typealias onImageChooseListener = (ValueCallback<Uri>?, ValueCallback<Array<Uri>>?, Int) -> Unit
typealias onCameraChooseListener = (ValueCallback<Uri>?, ValueCallback<Array<Uri>>?) -> Unit
typealias onFileChooseListener = (ValueCallback<Uri>?, ValueCallback<Array<Uri>>?) -> Unit
1.2、native测的核心实现
由上诉说代码可知核心代码在onCameraChooseListener中,这里无需自定视频存储路径
open class WebFragment : BaseFragment() {

        override fun init(view: View) {

            ...

            webChromeClient.onCameraChooseListener = { uri, uriArray ->
                startVideoCaptureForOpen(uriArray)
            }
            ...
        }

              open fun startVideoCaptureForOpen(uriArray: ValueCallback<Array<Uri>>?) {
                umUploadMessages = uriArray
                startSystemVideoCaptureViewByAction(ActivityRequestCodeConfig.PictureProcessor.CAPTURE)
            }

                // 无需视频资源的保存路径 cameraIntent.putExtra(MediaStore.EXTRA_OUTPUT, imageUri);
                open fun startSystemVideoCaptureViewByAction(requestCode: Int) {
                    try {
                        //拍照图片保存到指定的路径
                        val innerIntent = Intent(Intent.ACTION_PICK)
                        innerIntent.setDataAndType(MediaStore.Images.Media.EXTERNAL_CONTENT_URI, "video/*")
                        val cameraIntent = Intent(MediaStore.ACTION_VIDEO_CAPTURE)
                        cameraIntent.addFlags(Intent.FLAG_GRANT_READ_URI_PERMISSION)


                        val wrapperIntent = Intent.createChooser(innerIntent, "选择视频")
                        wrapperIntent.putExtra(Intent.EXTRA_INITIAL_INTENTS, arrayOf<Parcelable>(cameraIntent))
                        startActivityForResult(wrapperIntent, requestCode)
                    } catch (e: Exception) {
                        e.printStackTrace()
                    }
                }

}
1.3、 native侧选中后资源后回传
所有资源获取都在onActivityResult的Intent中,视频获取比较简单
open class WebFragment : BaseFragment()  {


        ...

        protected void onActivityResult(int requestCode, int resultCode, @Nullable Intent data) {
            super.onActivityResult(requestCode, resultCode, data);

                if (requestCode == ActivityRequestCodeConfig.PictureProcessor.CAPTURE) {
                    if (null == uploadMessage && null == umUploadMessages) return
                    val result = if (data == null || resultCode != Activity.RESULT_OK) {
                        null
                    } else {
                        data.data
                    }
                if (null != result) {
                    if (umUploadMessages != null) {
                        umUploadMessages?.onReceiveValue(arrayOf(result))
                    }
                } else {
                    umUploadMessages?.onReceiveValue(null)
                }
            }
        }

        ...
}
2、H5唤起原生视频选择实现分析
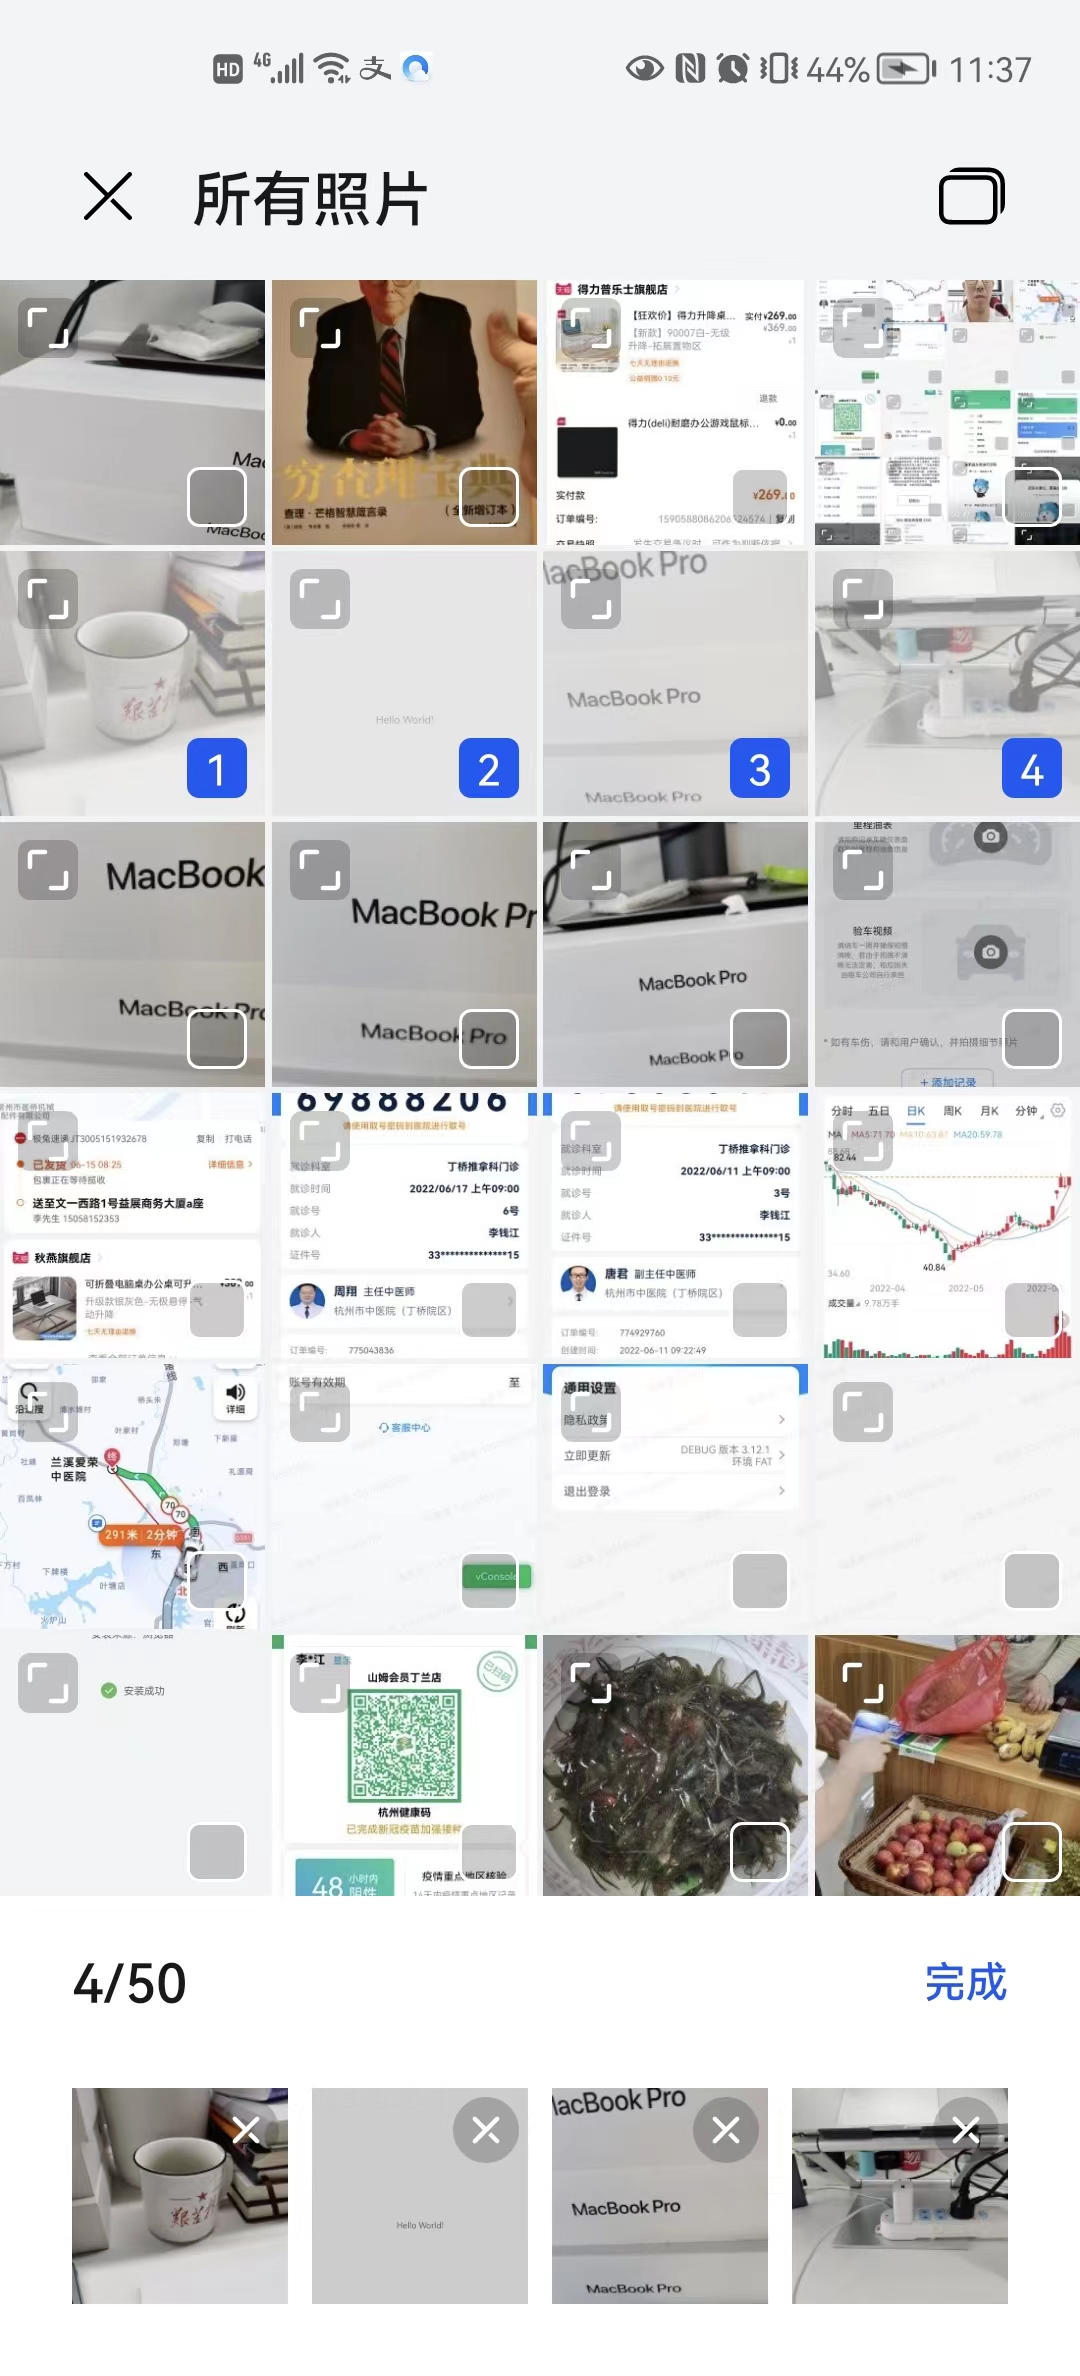
图片选择和视频选择略有差异,主要体现在以下两点: 1、图片选择拍摄选中,在onActivityResult中没人任何数据返回;需要从之前指定的Uri中获取。 2、图片选择的单选和多选,在回调方法onActivityResult通过不同方式获取; 单选是getDataString和多选是getClipData
先看两张效果图
2.1、打开系统的图片选择Activity
WebView中的访问方式在开篇H5唤起原生视频选择实现分析已说明。
      private void startSystemImageCaptureViewByAction() {

        try {
            //拍照图片保存到指定的路径

            imageUri = getUriForFile(this, getPhotoSaveFile());

            Intent innerIntent = new Intent(Intent.ACTION_PICK);
            innerIntent.putExtra(Intent.EXTRA_ALLOW_MULTIPLE, true);

//            innerIntent.addCategory(Intent.CATEGORY_OPENABLE);
            innerIntent.setDataAndType(MediaStore.Images.Media.EXTERNAL_CONTENT_URI, "image/*");

            Intent cameraIntent = new Intent(MediaStore.ACTION_IMAGE_CAPTURE);
            cameraIntent.addFlags(Intent.FLAG_GRANT_READ_URI_PERMISSION);
            //拍照图片保存到指定的路径
            cameraIntent.putExtra(MediaStore.EXTRA_OUTPUT, imageUri);

            Intent wrapperIntent = Intent.createChooser(innerIntent, "选择图片");
            wrapperIntent.putExtra(Intent.EXTRA_INITIAL_INTENTS, new Parcelable[]{cameraIntent});

            startActivityForResult(wrapperIntent, 101);
        } catch (Exception e) {
            e.printStackTrace();
        }
    }
2.2、Uri的设置,参考文档 https://developer.android.com/training/camera/photobasics?hl=zh-cn
       private Uri getUriForFile(Context context, File file) {
        Uri fileUri = null;
        try {
            if (Build.VERSION.SDK_INT >= 29) {
                ContentValues contentValues = new ContentValues();
                contentValues.put(MediaStore.Images.Media.DATA, file.getAbsolutePath());
                contentValues.put(MediaStore.Images.Media.DISPLAY_NAME, file.getName());
                contentValues.put(MediaStore.Images.Media.MIME_TYPE, "image/jpeg");
                fileUri = context.getContentResolver().insert(MediaStore.Images.Media.EXTERNAL_CONTENT_URI, contentValues);
            } else if (Build.VERSION.SDK_INT >= Build.VERSION_CODES.N) {
                fileUri = getUriForFile24(context, file);
            } else {
                fileUri = Uri.fromFile(file);
            }
        } catch (Exception e) {
            e.printStackTrace();
        }
        return fileUri;
    }

        private File getPhotoSaveFile() throws IOException {
        File imageStorageDir = context.getExternalFilesDir(Environment.DIRECTORY_PICTURES);
        final File tempFile = File.createTempFile(
                "IMG_" + String.valueOf(System.currentTimeMillis()),  /* prefix */
                ".jpg",         /* suffix */
                imageStorageDir      /* directory */
        );
        currentPhotoPath = tempFile.getAbsolutePath();
        return tempFile;
    }
2.3、获取选中的图片
简单解释三种case
1、无论单选多选,拍照指定了Uri那么data就是null;
2、单选下纯粹选择图片,数据在data.dataString中;String的格式;
3、多选在data.clipData中,需要进一步解析出Uri。
     override fun onActivityResult(requestCode: Int, resultCode: Int, data: Intent?) {

        var results: Array<Uri> = arrayOf()
        when (resultCode) {
            Activity.RESULT_OK -> {
                if (data == null) { // 拍照返回
                    results = arrayOf(imageUri)
                } else {
                    val dataString = data.dataString
                    val clipData = data.clipData
                    if (clipData != null) { // 多选图片返回
                        results = Array(clipData.itemCount) { k ->
                            clipData.getItemAt(k).uri
                        }
                    }
                    if (dataString != null) { // 单选图片返回
                        results = arrayOf(Uri.parse(dataString))
                    }
                }
                umUploadMessages?.onReceiveValue(results)
            }
            Activity.RESULT_CANCELED -> {
                umUploadMessages?.onReceiveValue(null)
            }
            else -> {
                umUploadMessages?.onReceiveValue(null)
            }
        }
     }
3、H5中全屏播放视频
实现关键也是WebChromeClient这个类两个方法的重写, 核心代码如下。
class MyWebChromeClient(
    var progressView: View?,
    var screenWidth: Int,
    var showProgressView: Boolean,
    var activity: Activity?
) : WebChromeClient() {

    private var customView: View? = null
    private var customViewCallback: CustomViewCallback? = null


        override fun onShowCustomView(view: View?, callback: CustomViewCallback?) {
            super.onShowCustomView(view, callback)
            if (null != customView) {
                return
            }
            val decorView = activity?.window?.decorView as? FrameLayout ?: return
            decorView.addView(
                view, FrameLayout.LayoutParams(
                FrameLayout.LayoutParams.MATCH_PARENT,
                FrameLayout.LayoutParams.MATCH_PARENT
                )
            )
            customView = view
            customViewCallback = callback
        }

        override fun onHideCustomView() {
            super.onHideCustomView()
            val decorView = activity?.window?.decorView as? FrameLayout ?: return
            customView?.let {
                decorView.removeView(it)
            }
            customView = null
            customViewCallback?.onCustomViewHidden()
        }

}
总结
纸上得来终觉浅,绝知此事要躬行。
- H5通过WebView和原生的交互,其实系统做了非常丰富的封装;实现也异常精美;
- 图片选择的实现有一定的兼容判断代码,针对拍照的case需要指定下储存文件的Uri。